%20copy.png)
Enhancing Packaging with Box Printing Lamination: An Easy-to-Understand Guide
- Mega Uni-Trade Team
- Sep 1, 2025
- 11 min read
Updated: Sep 3, 2025
Carton lamination involves applying a film or chemical to the surface of a carton after printing to enhance the aesthetics, durability, and value of the packaging, which directly impacts purchasing decisions and your brand image. Investing in this area is therefore not just an expense, but a tangible strategy.
Why is box lamination an effective sales boosting strategy?
In a highly competitive market, packaging is the first salesperson to communicate directly with customers. Customizing your box is the way to dress up your product and make it stand out and believable on a shelf full of competitors.
Think about it: a coating protects the box from scratches, moisture, or fingerprints during shipping, ensuring that the product reaches the customer in pristine condition. When a customer compares a cosmetic box covered in fingerprints to a shiny, glossy box, their perception of the quality of the product inside is completely different.
Add value and make a difference to your brand.
Choosing the right lamination technique can instantly transform a plain box into a premium look. A clear example is the Thai health and beauty market, which prefers to use matte PVC laminated boxes and apply Spot UV to specific areas of the logo to create a luxurious dimension and feel.
Actionable Insight: If your brand wants to build consumer perception of premium products, investing in specialty finishes like matte lamination and spot UV is a smart strategy. It makes customers feel the products inside are high quality and worth the money, making them more likely to make a purchase.
This isn't just a short-term sales boost, it's a long-term branding exercise, as beautiful and unique packaging will instantly make your brand recognizable to customers.
Key to success in the Thai market
In the domestic market, the use of lamination techniques to create a distinctive look has become standard, especially for products that need to create a luxurious image. Data from leading printing houses indicates that the use of 300-350 gram art card paper for cosmetic boxes, then coated with gloss and stamped with silver foil, has seen a growth rate of 5-7% per year over the past five years. This is clear evidence that modern consumers place importance on quality packaging.
Therefore, laminating printed boxes is not an “optional” option, but a “must-do strategy” for brands looking to grow.
Protect your product: Reduce damage during shipping, keeping your box looking new.
Add value: Make the packaging look premium, which makes the product inside look more expensive.
Create recognition: Unique coating designs help your brand become memorable.
Stimulate Purchase: Create a captivating first impression that drives purchase decisions.
Choose the right coating technique for your brand.
Choosing a box printing lamination technique is like choosing a product kit. Each technique produces different results and communicates a different image. Therefore, choosing the right one is an important part of your marketing strategy.
The first step is to understand the main options that Thai printers prefer, each with distinct advantages and costs.
This image shows the process of laminating cardboard boxes using machinery, which is the key to adding value to packaging. It can be seen that high precision is required to produce perfect results on every box.
Understanding popular coating techniques
To make your decision easier, here are details of each technique that you can discuss with your printer right away.
UV Coating: Provides the highest glossiness like a mirror, helping to make printed colors more vibrant and outstanding. Suitable for products that need to create a premium look and be eye-catching on the shelf, such as cosmetic boxes or smartphone boxes.
Varnish Coating: This is a cost-effective and quick option and comes in both gloss and matte finishes. Glossy finishes offer a nice finish and offer some scratch resistance, while matte finishes are soft to the touch and reduce glare, giving your project a sophisticated and modern look.
PVC/Laminate: This is a covering made of plastic film. It comes in both glossy and matte finishes. Its strengths lie in its high durability and excellent resistance to scratches and moisture. Matte PVC, in particular, is highly popular for products that require a luxurious and tangible feel.
According to market data in Thailand, UV coating accounts for the highest share at approximately 40% of all box coating applications, followed by glossy and matte varnishes at 35% and 25% respectively, reflecting that most brands still prefer the glossy look that helps their products stand out.
Comparison of popular box printing coating techniques
Use this table as a guide to decide on the most appropriate technique for your packaging.
feature | UV Coating | Glossy Varnish | Matte Varnish |
|---|---|---|---|
Gloss level | Highest (like a mirror) | moderate | No (light absorption) |
Durability | Very good (good scratch resistance) | moderate | Moderate (may easily get fingerprints) |
feeling | Luxurious, distinctive, modern | Bright and lively | Calm, gentle, premium |
price | high | Moderate (worth it) | moderate |
Suitable for work | Cosmetic boxes, premium products, magazine covers | General consumer goods, brochures | Products that require a simple and elegant image, business cards |
This table will help you visualize the differences and make it easier to choose options that align with your brand strategy.
Special techniques to create a standout look
In addition to full-sheet lamination, there are additional techniques that can help make your designs more dimensional and interesting.
Spot UV , or spot UV coating, is the most powerful differentiator. It involves selectively applying a glossy finish to a specific part of your design, such as a logo, product name, or graphic pattern, on a pre-coated surface. The contrast between the glossy and matte surfaces creates a visually and tactile dimension, making your box much more appealing.
Examples of practical application:
Luxury skincare brand: Choose art card paper box, laminated with matte PVC for a soft touch, and then apply Spot UV on the logo and product name to emphasize the luxury.
Supplement brands: Those who want to convey energy and vibrancy can opt for a glossy UV coating on the entire box to make the colors on the packaging stand out the most on the shelf.
Consumer Goods: For those who want a beautiful finish within a manageable budget, gloss varnish is a standard option that delivers excellent results and is cost-effective.
Ultimately, choosing the right coating technique depends on your brand goals, budget, and the image you want to communicate to your customers.
How to prepare artwork files for coating work to ensure perfection?

The quality of your box printing lamination doesn't start with the machine, but with the artwork files you send to the printer. Preparing the files well is the key to a smooth production process, reducing errors, and achieving results that meet your needs.
Preparing a file is like laying foundations for a house. If the foundations are strong, the house will be stable. If there's a problem with the file, it may take time to fix it, or worse, the printout may not meet specifications, wasting both time and money.
The key: Choose the right paper for the job.
Before starting a design, the first thing to decide is the type and thickness of the paper, as this directly affects the lamination technique to be used.
Art Card Paper: Suitable for premium work, with a smooth white surface on both sides. Excellent ink and coating support, especially PVC or Spot UV coating, which produces exceptionally beautiful results.
Duplex Board: A popular and cost-effective option. Its smooth white surface offers vibrant color printing, yet is cheaper. It is ideal for general merchandise boxes.
The thickness of the paper (grams) is also important. Boxes using paper that is too thin (less than 300 grams ) may easily become "sagging" or warped when laminated with film . The best practice is to choose a thickness appropriate for the size of the box and the weight of the product. The safest and most commonly used gram is 350 grams.
Checklist for setting up artwork files for printing
Once you've selected your paper, check the file settings in your design program (such as Adobe Illustrator) according to this list before sending it to the printer.
Allow 3-5 mm bleed: Create a bleed area of the print that extends beyond the actual edge of the print by at least 3-5 mm on all sides to prevent white edges from forming after cutting.
Set a 3-5mm Safe Zone: Place text, logos, and other important elements at least 3-5mm away from the actual cutting edge to ensure these elements are not cut off.
Set the color mode to CMYK: Make sure your artwork files are set to CMYK (Cyan, Magenta, Yellow, Black) color mode from the start of the design process to ensure that printed colors are as close to what you see on your screen as possible.
Actionable Insight: Remember, a Bleed is a "risk area" that could be cut, and a Safe Zone is a "safe area" for important data. Adhering to this principle will help keep your design complete and safe.
Proper file preparation not only ensures a beautiful finish, but also reflects professionalism and makes working with the printer faster and smoother. For a clearer picture, see the sample file settings for printing.png).
QC Checklist for Coating Work: How to Get the Job Done Right Without Mistakes
When the first batch of boxes arrives, before signing for the goods and paying the remaining balance, there is a crucial step that cannot be skipped: Quality Control (QC) to ensure that the finished box lamination meets the agreed-upon specifications.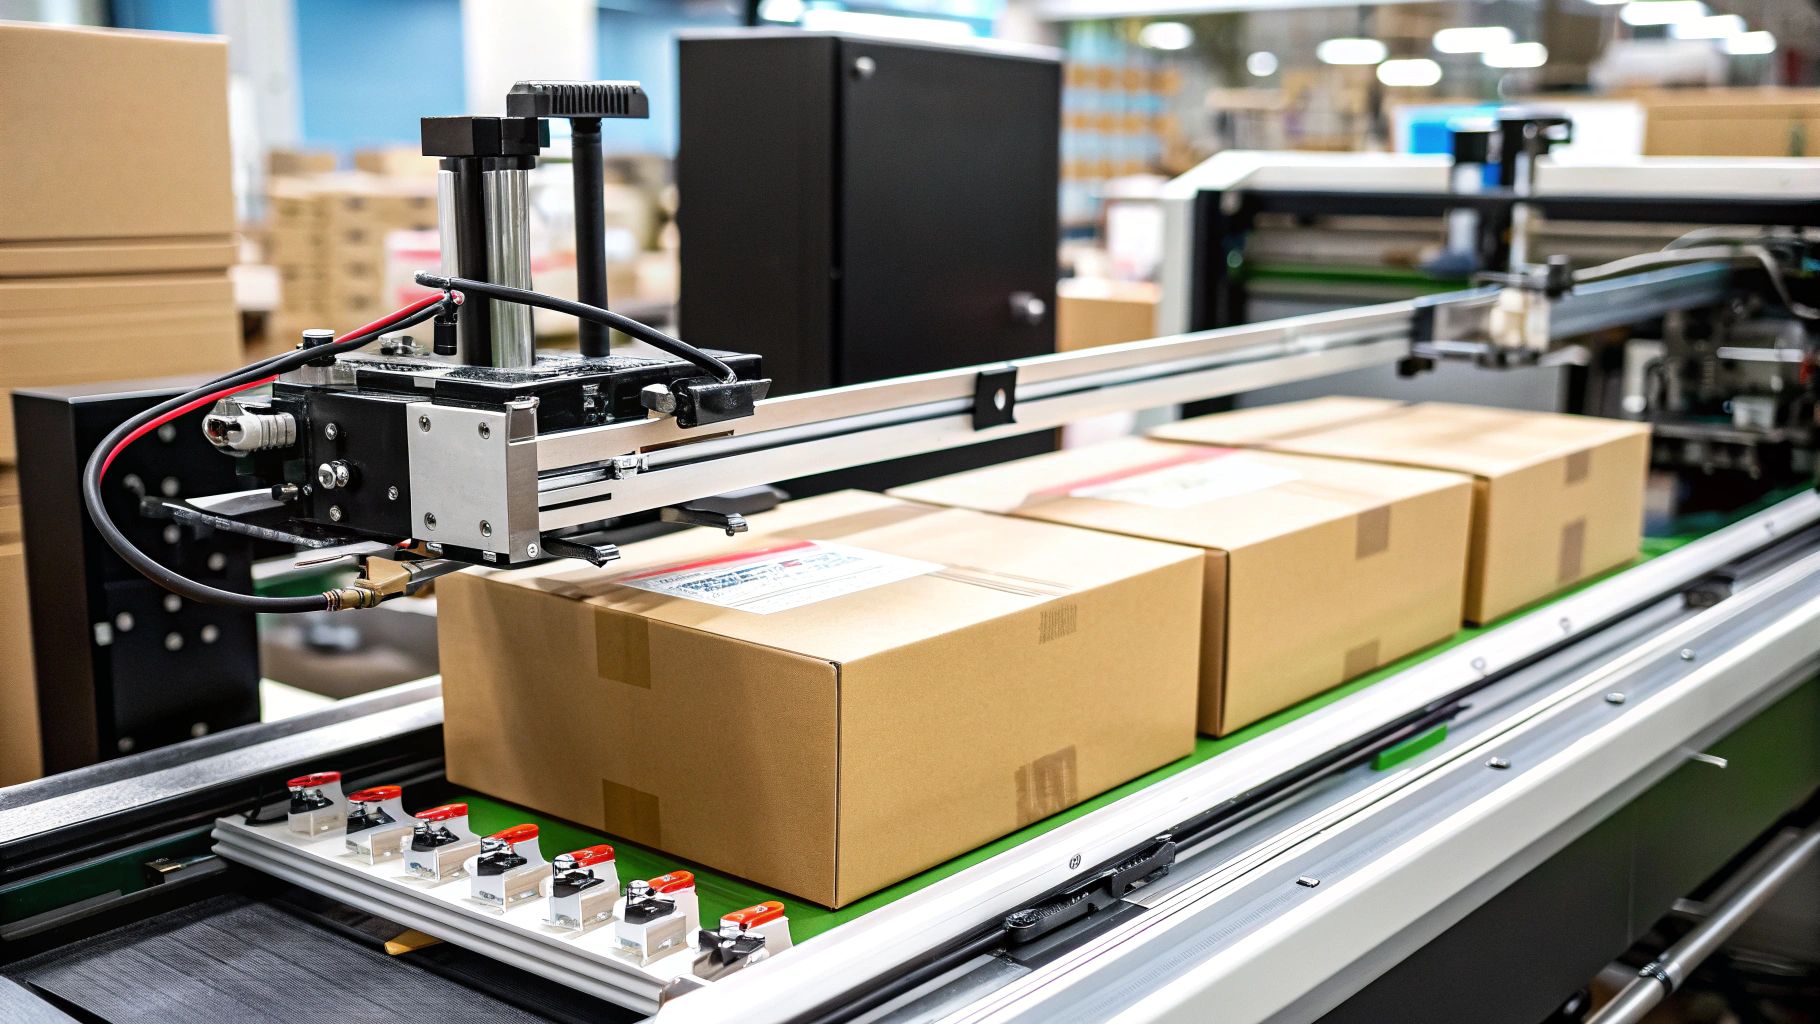
Having a clear checklist will help you keep your tasks organized and avoid missing important points.
Checklist for quality control of coating work (QC)
Use this list to check your work every time you receive a new batch:
Check the smoothness of the coating: * How to: Hold the sample box up to the light and scan the surface. * What to look for: Bubbles, wrinkles, or dust specks under the film. * Standard: The surface must be smooth. If any abnormal defects are found, notify the printer immediately.
Touch Test: * How to do it: Use your fingertip to gently rub the entire surface of the box. * Standard: The surface must feel smooth and consistent, with no rough or snaggy points.
Scratch Resistance Test: * How to: Lightly scratch an inconspicuous area with your fingernail, such as under the box or inside the flap. * Standard: Good quality coatings (especially PVC or UV) should be able to withstand minor scratches. There should be no deep scratches or film that sticks to your fingernail.
Film adhesion test: * Method: Fold the box along the fold lines made by the printer. * Standard: Observe the spine of the box. There should be no cracks or peeling film, which is a common problem if the lamination technique is not selected appropriately for the thickness of the paper.
Compare the color with the sample: * How to do it: Take the received box and place it against the previously approved color proof sample. * Standard: The color after coating may change slightly (gloss makes the color more vivid, matte makes the color softer), but the overall color tone must not deviate from the approved design to the point of affecting the brand image.
Actionable Insight: When performing a random inspection, don't just pick the top box. Also, pick from the middle or bottom of the pile to get a true picture of production quality, as problems may only occur during certain parts of production.
Taking the time to carefully inspect your work at this stage is a worthwhile investment to ensure that every package that reaches your customers is as perfect as possible.
Common mistakes when ordering box coating
Learning from common mistakes when ordering printed box lamination is the best shortcut to help your project run smoothly and avoid unnecessary costs.
Forgetting to leave space for glue: * Problem: Design beautiful artwork that covers the entire area, but forget to leave space around the box spine or where glue must be applied to form a blank area without coating. * Result: Glue cannot stick to the surface of the coating film, causing the box to be unable to be assembled or, after assembly, is not strong and ready to fall apart. * Solution: Talk to the printer from the beginning to clearly define the "glue-free area" (No-Coating Area) in the artwork file.
Choose incompatible paper and lamination techniques: * Problem: Using thin paper (less than 300 gsm) with high surface tension film lamination (such as PVC). * Result: The paper cannot withstand the tensile strength of the film, causing the box to "sag" or warp out of shape, which cannot be fixed and requires a complete re-production. * Solution: Consult the printing house, stating the box size, product weight, and desired lamination technique so that an expert can recommend the most appropriate paper thickness.
Design details too small for special effects: * Problem: Design very small, thin text and want to apply Spot UV only in specific areas. * Result: UV solution may be thick and greasy, causing blurred and unreadable edges. * Solution: If you want to use Spot UV, design the element to be large and thick enough for the technique to display beautifully.
Skip the Color Proof step: * Problem: To save time and budget, we don't approve the work from the actual laminated proof. * Result: The color of large lots of boxes may deviate from expectations because different lamination techniques affect the color perception differently (glossy lamination makes the color more vibrant, matte lamination makes the color softer). * Solution: Always invest in a color proof to confirm the final result before mass production. It is a worthwhile investment than the risk involved.
Understanding these mistakes will help you plan your box lamination project carefully and ensure you get the results you want. See the box die cut example (.png) to see designs that leave the correct space for gluing.
Frequently Asked Questions (FAQ) about Box Coating
Here are some of the most frequently asked questions business owners have about laminating printed boxes, which will help you better prepare for discussions with printers.
How much money should I prepare?
The cost of laminating boxes is not fixed, but depends on the following main factors:
Techniques used: UV or PVC coating is more expensive than varnish coating.
Box size: Larger boxes require more lamination area, resulting in higher costs.
Production Quantity: The larger the quantity ordered, the significantly lower the unit price.
Tip: Offset printing with lamination becomes cost-effective when the order quantity is 1,000 pieces or more. For smaller quantities (100-500 pieces), digital printing may be a better option, but the cost per unit will be higher.
How long will it take to receive the item?
The average production time for offset printing boxes with lamination is approximately 7-20 business days , starting after you confirm the design and approve the color proof sample.
If the job is complex, such as foil stamping and then Spot UV overlay, the production time will be longer.
Actionable Insight: To get the job done faster, prepare your artwork files as flawlessly as possible from the start and allow time for careful review and approval of proof samples. Rushing approval without proper review can lead to more time-consuming and costly revisions.
Should I choose art card paper or grey backing paper?
The decision is primarily based on brand image and budget.
Art Card Paper: Provides a premium feel with a smooth white surface on both sides. Suitable for branded products that want to create a luxurious image but are more expensive.
Grey Backed Paper: This is a cost-effective option. The front surface is smooth and white, and the color printing is as beautiful as art card. It is suitable for general consumer products that require beautiful and strong boxes within a controllable budget.
The good news is that both types of paper can be coated to enhance their aesthetics and durability.
Choosing the right coating technique and materials is key to creating outstanding and functional packaging. If you're looking for experts who can provide consultation and high-quality printing solutions , Mega Uni-Trade is the answer. With over 35 years of industry experience, we offer water-based and UV coating products, as well as other consumables that will help take your printing to the next level.
Check out our solutions to improve your printing at https://www.megaunitrade.com
This article is provided for educational purposes only and is offered ‘as is.’ Mega Uni-Trade Co., Ltd. accepts no responsibility for any losses or damages resulting from its use.
Comments